If you love Apple Recipes Easy, you have to try this. It’s kinda like a mash-up of Baked Apples Crockpot Easy Recipes and Crockpot Fried Apples Slow Cooker Style, but even better because it’s got that thick, caramel-y sauce that makes you wanna lick the spoon. It’s perfect if you’re craving Crockpot Baked Apples, need an easy Crockpot Dessert Recipe, or just wanna make some Slow Cooked Apples without standing over the stove. Plus, this is one of those Crock Pot Cooking wins where you just dump everything in, walk away, and come back to a house that smells like a bakery.

So if you’re looking for Crock Pot Desserts, Fruit Recipes, or just a fun new way to make Crockpot Apples, this one’s a must-try. Whether you eat it straight from the bowl, pour it over pancakes, or go all out and top it with ice cream (my fav way, tbh), it’s so good. Let’s get cooking!
What You Need
- 6 big apples, peeled, cored, and chopped (I like to use Granny Smith and Honeycrisp)
- ½ cup brown sugar
- 1 teaspoon cinnamon
- ¼ teaspoon nutmeg
- ¼ teaspoon allspice
- 1 tablespoon lemon juice
- 1 tablespoon cornstarch mixed with 2 tablespoons water (this helps thicken it up)
- 1 cup apple cider or water
- 1 teaspoon vanilla extract
- A pinch of salt
I always keep these ingredients around because they make my house smell like a bakery!
How to Make It: Step by Step
Step 1: Prepare the Apples

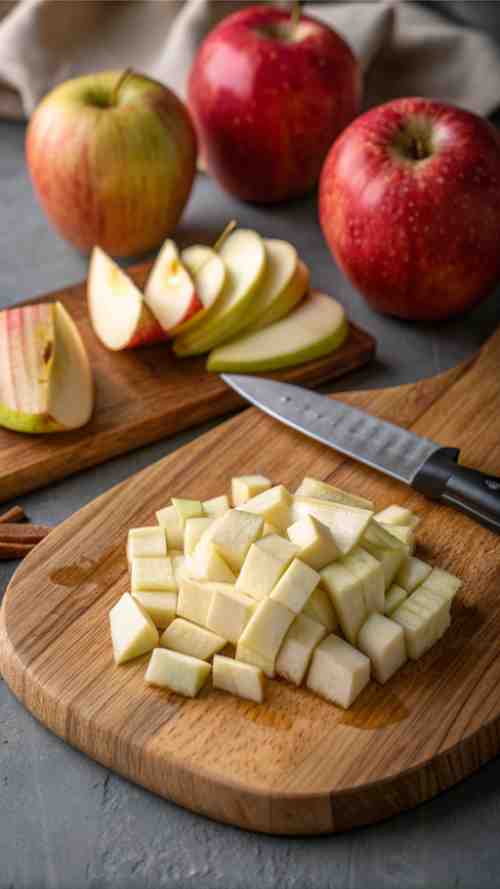
Peel, core, and chop the apples into bite-size pieces. I usually get my kids to help out sometimes – it makes it more fun and they learn about cooking too. Sometimes they make a mess, but that’s ok.
Step 2: Mix the Ingredients

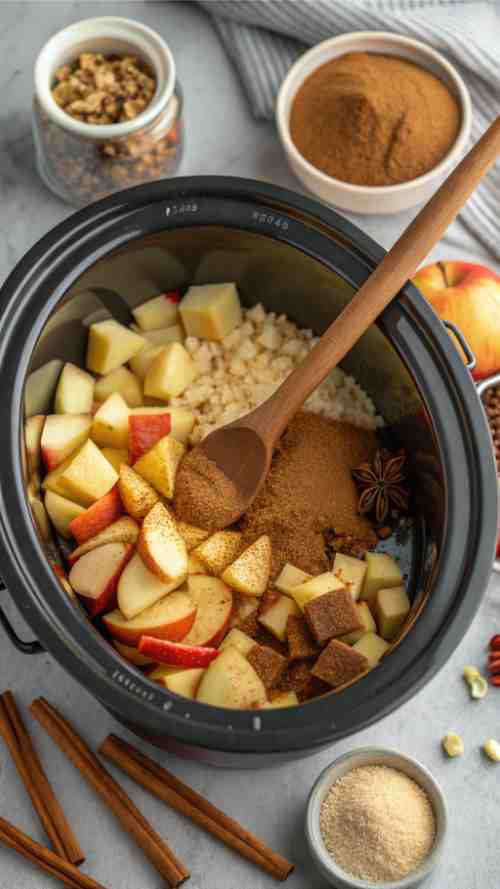
In your crockpot, add the chopped apples, brown sugar, cinnamon, nutmeg, allspice, lemon juice, apple cider (or water), and a pinch of salt. Stir it all together really good. (Don’t add the cornstarch mixture or vanilla yet!)
Step 3: Slow Cook the Stew
Cover your crockpot and cook on LOW for about 4-5 hours. When you’re done, the apples should be super soft and the whole thing will smell amazing. Sometimes I peek in to see if it looks ready and I get so excited.
Step 4: Thicken the Stew

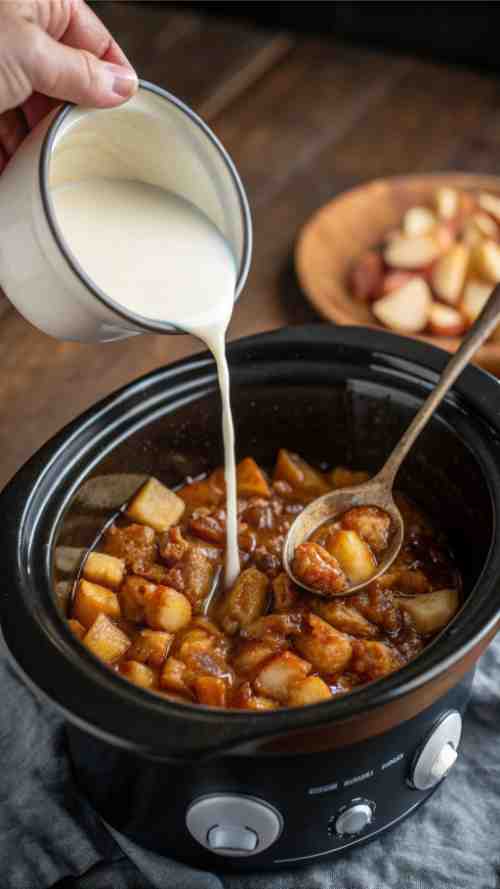
After 4-5 hours, mix the cornstarch and water if you haven’t done that already. Stir it into the crockpot and let it cook for another 20-30 minutes. This makes the stew a little thicker and more like a real apple pie filling.
Step 5: Add the Vanilla
Now, stir in the vanilla extract. This is the last step and it really brings the whole flavor together. I sometimes forget and add it too soon, but I learned my lesson.
How to Enjoy It
I like to serve my Crockpot Apple Pie Stew warm. You can eat it all by itself or put a scoop of vanilla ice cream on top. My kids sometimes like it over pancakes for breakfast! It’s just so fun and different, and it reminds me of home and those cozy days when we all sit together after school.
Storing & Reheating
If you have leftovers (which is rare, cause it’s so yummy!), store it in an airtight container in the fridge for up to 5 days. When you wanna eat it again, just warm it up on the stove or in the microwave. You can even freeze some for another day when you’re super busy.
FAQs for Crockpot Apple Pie Stew
Can I make this without sugar?
For sure! You can swap the brown sugar for honey, maple syrup, or even just let the natural sweetness of the apples shine. If you want a sugar-free option, try using a sugar substitute like monk fruit.
Do I have to use cornstarch?
Nope! Cornstarch helps thicken the sauce, but if you don’t have any, you can use flour, arrowroot powder, or just let it be a little runnier—still tastes amazing!
Can I make this ahead of time?
Totally! You can store it in the fridge for up to 5 days or freeze it for up to 3 months. Just reheat on the stove or in the microwave when you’re ready to dig in.
How long does this take to cook?
About 4-5 hours on LOW in the crockpot. If you’re in a rush, you can do 2-3 hours on HIGH, but the apples won’t get as soft and caramelized.
Crockpot Apple Pie Stew Recipe Card

Crockpot Apple Pie Stew
Ingredients
- 6 large apples Granny Smith and Honeycrisp work best
- ½ cup brown sugar
- 1 teaspoon cinnamon
- ¼ teaspoon nutmeg
- ¼ teaspoon allspice
- 1 tablespoon lemon juice
- 1 cup apple cider or water
- 1 tablespoon cornstarch mixed with 2 tablespoons water
- 1 teaspoon vanilla extract
- Pinch of salt
Instructions
- Chop the apples – Peel, core, and dice them into bite-sized pieces.
- Mix ingredients – Add apples, brown sugar, cinnamon, nutmeg, allspice, lemon juice, apple cider (or water), and salt to your crockpot. Stir well.
- Slow cook – Cover and cook on LOW for 4-5 hours (or HIGH for 2-3 hours) until apples are soft.
- Thicken the sauce – Mix cornstarch and water, then stir it into the crockpot. Let it cook another 20-30 minutes until thickened.
- Add vanilla and serve – Stir in vanilla extract, then serve warm.
Notes
Serving Ideas
- Over vanilla ice cream
- Topped with granola and yogurt for breakfast
- Spooned over pancakes or waffles
- Straight from the bowl with a spoon
Storing & Reheating
- Fridge: Store in an airtight container for up to 5 days.
- Freezer: Freeze for up to 3 months.
- Reheat: Warm in the microwave or on the stove until heated through.
Seriously, this is one of my favorite Apple Crockpot Recipes because it’s so simple, and the whole house smells like a dream while it’s cooking. If you love Apple Recipes Easy, you have to try this one. It’s kinda like a mix between Baked Apples Crockpot Easy Recipes and Crockpot Fried Apples Slow Cooker Style, but even better because you don’t have to watch the stove or mess with a pie crust. Just dump it all in, let the Crock Pot Cooking do the work, and boom—dessert is ready.
I love serving this Crockpot Apple Dessert over ice cream or even on pancakes for a fancy-feeling breakfast (without actually doing any extra work). And if you’re all about Crock Pot Desserts, this one’s a must. It’s like a warm hug in a bowl, and my kids devour it every time.
So whether you’re looking for Crockpot Baked Apples, need some new Fruit Recipes, or just wanna try a fun twist on Slow Cooked Apples, this is the recipe. Let me know if you try it—I’d love to hear how you serve it! Happy cooking!
Leave a Reply